Starting out with Jekyll
I’m Matt, and I decided I’d start this blog to discuss the different topics I’m learning about in the area of coding, Maths, technology, and anything else I think is interesting or relevant.
In this post I’m going to say a bit about what I’ve learned about Jekyll in the process of setting up this blog. I won’t be running through all the steps to get a Jekyll site up and running; there are plenty of people who have done that. Instead, I just want to cover what I think are the fundamental principles of Jekyll.
What is Jekyll?
Jekyll is a tool for creating simple, static sites. What this means is that it does not use a database, or any real-time, dynamic code when in use. All of the site’s layout and directories are generated by Jekyll whenever the ‘bundle exec jekyll build’ command is run. You can then upload the site to your host. This makes it fast and able to run on the simplest web hosts (I am hosting it on GitHub pages, as you may have noticed, which is free).
Why use it?
My experience of static sites, has been that they required a fairly hands-on approach to maintaining the folder structure, and manually editing multiple files whenever changes are made. As mentioned before, Jekyll does all of this for you. All I have to focus on as a blogger is writing posts, saving them as .markdown files, and placing them into the _posts directory. Conversely, because it is so simple, it dodges need to set up the backend of a traditional MVC blog app. The approach by WordPress et al focuses on the entire blog as a piece of software for authoring and publishing posts within the browser. For me, it’s a case of WordPress being a sledgehammer to crack a nut. They describe Jekyll as being ‘blog aware’; it has built-in support for blogging, and the basic site scaffold which is initially generated is a blog page.
Markdown
As mentioned before, Jekyll uses Markdown, a text to HTML conversion tool.
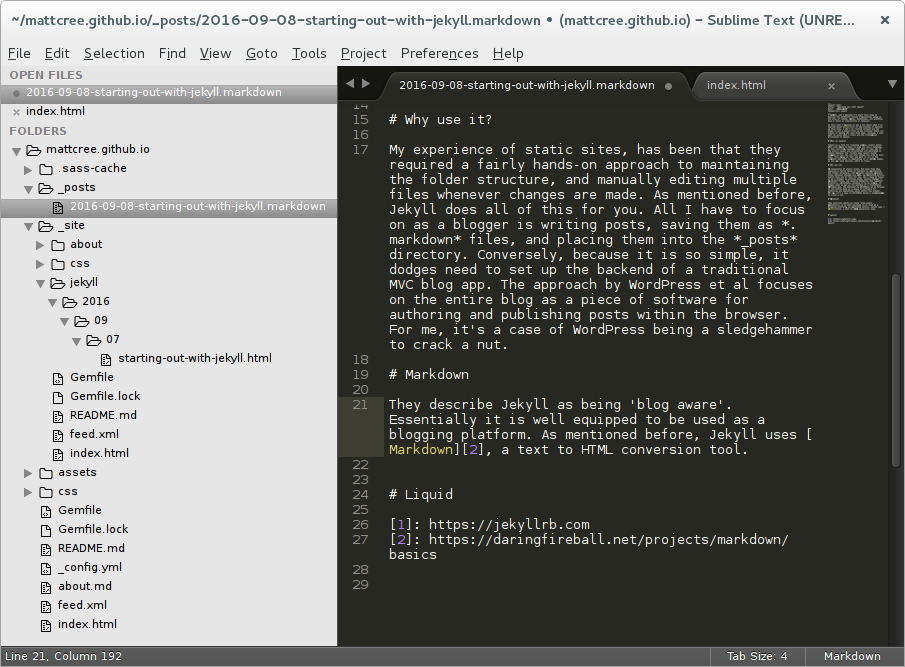
The essence of Markdown is readability and minimal use of symbols for formatting – Jekyll parses the markdown files each time the site is built. It’s a great addition to Jekyll’s functionality which allows rich text formatting without the hassle of HTML tags. There’s a basic guide to Markdown here. The key thing to note from the screenshot above, is that the only directory which is updated is _posts. Whenever a file with the naming format year-month-day-title.markdown is dropped in there, it will rebuild file structure and produce the category/year/month/day/title.html structure.
Liquid
As Jekyll is built using ruby, it allows the use of Liquid tags. It allows you to use ruby code inline with your HTML or, in this case, Markdown files.
{% assign foo =  "bar" %}
{{ foo }}
would display
barWith the basic scaffold, the front page contains a for loop which iterates through all the posts which, upon the site rebuild, will render a new index.html with a list of posts.
{% for post in site.posts %}
<li>
  <h2>
    <a class="post-link" href="{{ post.url | prepend: site.baseurl }}">
      {{ post.title | escape }}
    </a>
  </h2>
  <span class="post-meta">
    {{ post.date | date: "%b %-d, %Y" }}
  </span>
  <p>
    {{ post.excerpt }}
  </p>
</li>
{% endfor %}
It basically builds the new post list on the front page, taking the information contained in each post in turn. On a dynamic site with a database, such as perhaps a Ruby on Rails blog, this would happen in in real time.
YAML front matter
YAML front matter allows you to create variables attached to a page. For example, the following block is at the top of the Markdown file I am currently editing:
---
layout: post
title:  "Starting out with Jekyll"
date:   2016-09-07
categories: jekyll
---
These variables are predefined in Jekyll, but I could add other variables myself, such as user: Matt, which I could then reference elsewhere as {{ post.user }}.
In closing
I’ll probably discuss Jekyll a bit more as and when I learn more! So far I’m very pleased with how simple and concise it seems. Having had some experience using AngularJS to build a project blog, and a bit of experience using Rails for a blog, there’s no doubt in my mind that Jekyll is simpler and perfectly suited to the task.
Until next time.